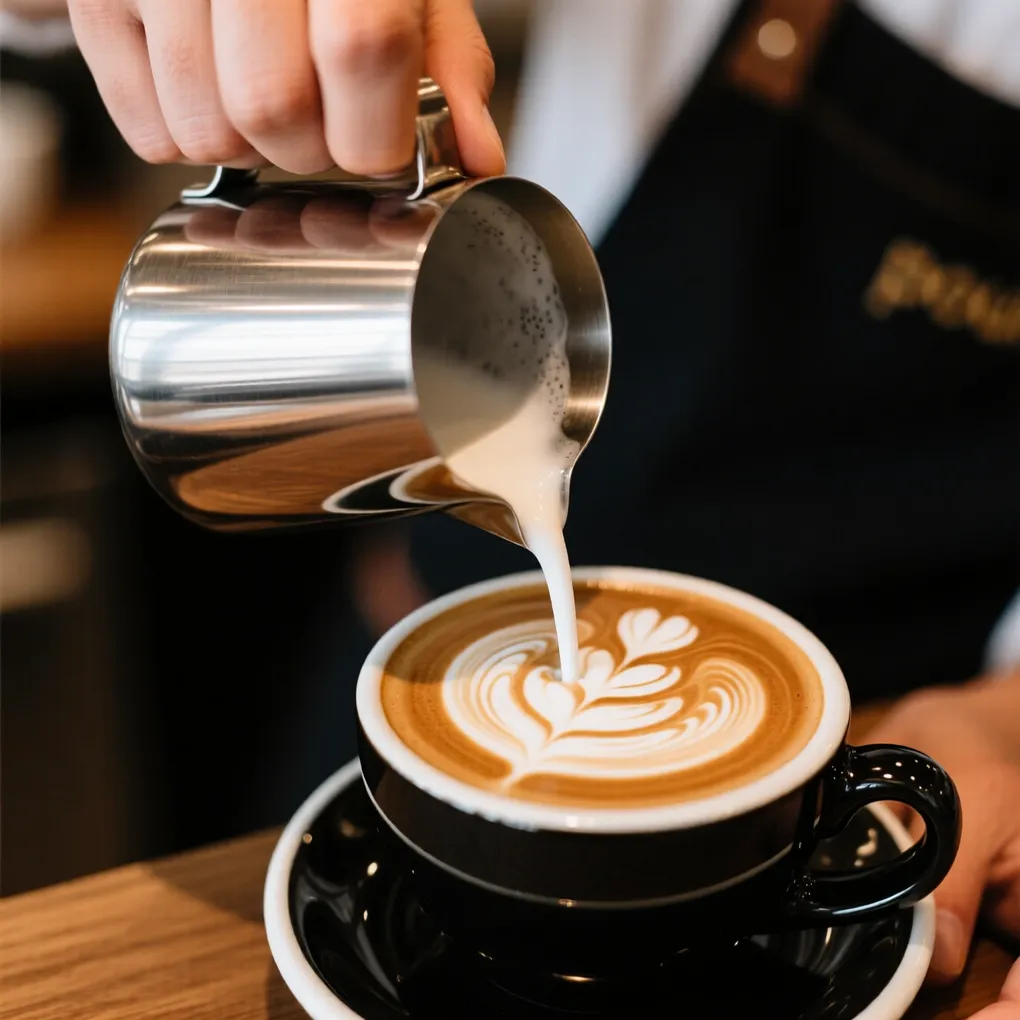
The Thermodynamics of Microfoam: How to Pour Latte Art
Milk is Not Just White Water
To understand microfoam, you have to understand protein. Milk contains Casein and Whey proteins.
- When cold, they are coiled up like little springs.
- When you add heat and air, these proteins “denature” (uncoil) and form a net around the air bubbles. This net traps the air, creating foam.
The Danger Zone: If you heat milk past 155°F, the proteins completely collapse. The net breaks. The foam vanishes. And the lactose (milk sugar) burns, making the milk taste like cooked oatmeal.
The Technique: “The Stretch” and “The Roll”
- The Stretch (0s to 10s): Introduce air while the milk is cold. The proteins are strongest now and can hold the bubbles. Listen for the paper-tearing sound.
- The Roll (10s to End): Once the pitcher feels warm to your hand (about 100°F), stop adding air. Dunk the wand. You need to create a whirlpool. This whirlpool smashes the big bubbles into invisible “micro” bubbles.
Why You Can’t Pour Art with “Old School” Foam
If your foam looks like dish soap suds, it’s too light. It will just sit on top of the espresso. True microfoam has the texture of wet paint or melted ice cream. It needs to be heavy enough to dive under the crema and then pop up to create the design.
Hardware Note: You can’t do this with a cheap panarello wand that injects big air bubbles automatically. You need a manual steam wand.